We've updated our Privacy Policy to make it clearer how we use your personal data.
We use cookies to provide you with a better experience. You can read our Cookie Policy here. Electrophoresis Tank
Stay up to date on the topics that matter to you
Complete the form below to unlock access to ALL audio articles.
Result visualization by Agarose Gel electrophoresis. Credit: Food and Agriculture Organization of the United Nations via YouTube.
Simple laws of physics dictate that when current is applied to a medium containing charged species, those species will migrate towards the opposite charge. Depending on the medium through which they are moving, other characteristics – such as the size of the species present – can impact their movement, leading to separation. This is the basis on which electrophoresis techniques, such as agarose gel electrophoresis, are built – techniques that are widely used across the life sciences.
In this article, we will consider how agarose gel electrophoresis works, how it can be interpreted and some of its purposes.
Electrophoresis is a technique that uses electrical current to separate DNA, RNA or proteins based on their physical properties such as size and charge.
Agarose gel electrophoresis is a form of electrophoresis used for the separation of nucleic acid (DNA or RNA) fragments based on their size. Negatively charged DNA/RNA migrates through the pores of an agarose gel towards the positively charged end of the gel when an electrical current is applied, with smaller fragments migrating faster. The resulting bands can then be visualized using ultraviolet (UV) light.
RNA,1 however, tends to form secondary structures – sometimes multiple different species for the same fragment – that affect the way it migrates. Consequently, observed bands do not always represent their true sizes and images are blurry. Native agarose gels (where conditions do not disrupt the natural structures of analytes) therefore tend not to be used for the analysis of RNA sizes, although they can give an estimate of quantity and integrity. Alternatives include northern blotting and denaturing agarose gel electrophoresis2 that use conditions able to disrupt secondary structures .
Agarose gels may also be used to separate proteins3 based on their size and charge (unlike DNA/RNA, proteins vary in charge according to the amino acids incorporated). However, due to the large pore sizes in agarose gels, proteins are often separated on polyacrylamide gels that have smaller pores instead, offering greater resolution for small protein molecules.
We will therefore focus on DNA agarose gel electrophoresis for the remainder of this article.
Agarose is a component of agar. It forms a 3D gel matrix of helical agarose molecules in supercoiled bundles held by hydrogen bonds, with channels and pores through which molecules are able to pass. When heated, these hydrogen bonds break, turning the agarose to liquid and allowing it to be poured into a mold before it resets (Figure 1).
Figure 1: Pore formation and temperature-induced state transition in agarose gel.
The percentage of agarose included in a gel impacts the pore sizes and thus the size of molecules that may pass through and speed at which they do so. The higher the percentage of agarose, the smaller the pore size, thus the smaller the molecules able to pass and the slower the migration. In the molecular biology lab, 0.7-1% agarose gel is typically used for day-to-day DNA separations, offering good, clear differentiation of fragments in the range of 0.2-10 kb. Larger fragments may be resolved using lower percentage gels, but they become very fragile and hard to handle, while higher percentage gels will give better resolution of small fragments but are brittle and may set unevenly.
Gel electrophoresis is used to separate mixtures of biomacromolecules, such as DNA, RNA and proteins. This technique separates by molecular size and/or charge. This is achieved by drawing molecules through a gel containing tiny pores using an electrical field.
As DNA is not visible to the naked eye, an intercalating dye such as ethidium bromide (EtBr) is incorporated in the gel during setting. This binds the DNA and fluoresces under UV light, allowing the DNA fragments to be visualized. The more DNA present, the brighter the band.
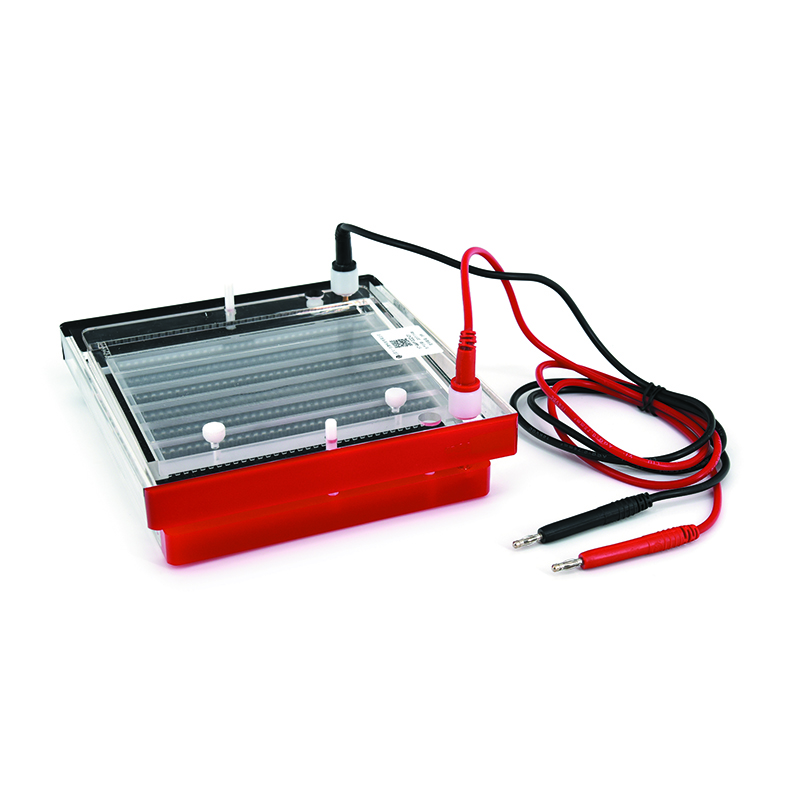
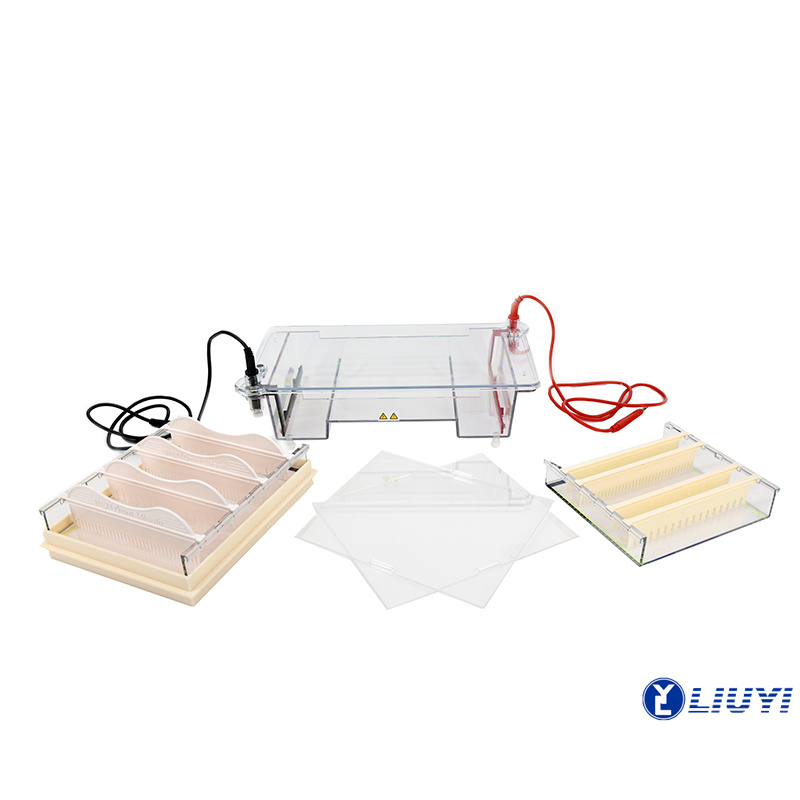
Samples mixed with a loading dye are placed in one end of the gel which is immersed in running buffer. An electrical current is then passed through the gel by electrodes at each end of the gel tank (Figure 2).
Figure 2: Illustration of an agarose gel electrophoresis setup. The agarose gel sits in a tank of buffer, the samples mixed with loading dye are placed in wells at one end of the gel and an electrical current is applied causing the negatively charged DNA to move towards the positive electrode (anode [Updated, February 13, 2023]).
When the samples have run far enough to obtain sufficient separation, the gel is removed from the tank and placed on a UV light box. The intercalating dye then allows the sample bands to be visualized and their size determined in comparison to a DNA ladder with known band sizes. The relationship between migration distance and fragment size in non-linear, adding to the importance of including size markers as a guide (Figure 3).
Figure 3: A) The illustration above depicts a typical result of DNA electrophoresis. On the left, there is a size marker that is used as a reference for the length of the sample DNA fragments (in base pairs). To the right of the marker are three samples: Sample A, Sample B and Sample C. The image shows how smaller DNA fragments move further through the agarose gel than the larger fragments of DNA. B) The graph to the right of the image shows the nonlinear, relationship between the size of the DNA fragments and the distance migrated. It is a negative curve, and as DNA fragments get larger, they migrate less distance through the gel. Credit: Mckenzielower, reproduced under the Creative Commons Attribution-Share Alike 4.0 International license.
There are a number of key steps4 involved in choosing, setting up, running and analyzing agarose gels that we will now consider.
1. Determine the required gel percentage – 0.7 – 1% agarose gel is typically adequate for most applications, but it is important to choose a percentage appropriate for your samples and expected fragment sizes. Combine the agarose powder with the same buffer type to be used to run the gel and heat to melt the mixture, avoiding boiling. Tris-acetate-ethylenediaminetetraacetic acid (EDTA) (TAE) or tris-borate-EDTA (TBE)5 are often the buffers of choice, as tris-acid solutions are effective buffers for slightly basic conditions, keeping DNA deprotonated and soluble in water. The EDTA, a chelating agent, inactivates nucleases that may damage the DNA being analyzed.
2. Pour a gel – Choose a gel casting mold and comb of the desired size, giving a sufficient number of wells for all samples and ladders and well capacity to hold the quantity of each sample to be loaded. Secure the open ends of the mold with a casting frame or tape to contain the gel while it sets. Add DNA intercalating dye into the bottom of the mold – for EtBr, 0.2-0.5 µ g/ml is typically used. Evidence that EtBr is a mutagen is still currently debated but consequently, many labs have moved over to alternatives6 such as GelRed. Add the gel, careful not to overfill the mold, and ensure the intercalating dye is evenly mixed. Don’t pour the gel when it’s too hot or the mold may warp or break.
3. Mix samples/ladders with loading dye – Loading dyes perform multiple functions. They allow the user to see where their otherwise colorless sample is, making it easier to pipette the sample into the well accurately and thus reducing the likelihood of cross-contamination of samples between the wells. When the gel is running, the dye migrates with the sample, allowing the user to tell where in the gel the sample has reached and prevent it from running too far and being lost into the buffer. DNA samples without loading dye will also tend to disperse into the running buffer when loaded as they are less dense. Most loading dyes therefore contain glycerol or Ficoll which makes the sample-dye mix denser, so it settles in the bottom of the wells. Bromophenol blue is a popular colorant choice, but some also contain additional dyes such as xylene cyanol. While loading dyes can be purchased, many labs choose to make their own.7
If you are running very small volumes of sample (e.g., less than 5 µ l), it may be advantageous to add a little water at this stage to make it easier to load the gel wells effectively and evenly. Equally, if you expect the concentration of DNA in some samples to be much higher than others, it may also be necessary to add water to your sample-dye mix of these concentrated samples at this stage too. If you do not, the strong signal given by these bands during visualization can mask weaker bands or require the strong bands to be over exposed to view the weaker ones, creating bright, distorted areas on the gel image.
4. Load the gel – Remove the casting frame/tape from the set gel and place it in the gel tank, ensuring that the wells are at the negative end (black electrodes). Fill the tank with running buffer (TAE or TBE) so that the gel is submerged. Carefully remove the comb and gently pipette the sample-dye (and water if used) mix into the wells. Try to avoid touching the edges of the wells with the pipette tip as they may break and allow one sample to run into the next. Overloading wells can have the same result. Large amounts of DNA can also slow down DNA migration during running. Load marker ladders, preferably one at each end of the sample row. Gels may not always run in a perfectly straight line so having a ladder at each end makes it easier to determine the sizes of fragments present. A variety of ladders are available with varying sizes indicated; chose one that is most appropriate for the fragment sizes you expect to see.
5. Run the gel – Place the lid on the tank with the electrodes black to black and red to red and plug the electrodes into a power pack, also black to black and red to red. This, along with the gel tank, makes up the gel electrophoresis machine. Make sure that the electrodes and lid are the correct way around otherwise your samples will run backwards out of the wells and into the running buffer. Set the time and voltage your gel will be run at; 120 V for 35 mins is a good approximation, however this should be tailored to the gel percentage used and expected fragment sizes being separated to give good electrical separation. Applying current to an agarose gel will cause it to heat up, the higher the voltage the more it will heat so when running low percentage gels, it is advisable to use lower voltages to prevent melting. It can be tempting to increase the voltage to make a gel run faster. However, this can result in “smiley gels”, where the bands are curved upwards at each end, making it difficult to determine the correct band size. This is where the gel has started to melt slightly making the bands run unevenly. This can also cause bands to appear smeary and poorly defined.
6. Visualization – Once the samples have run most of the way down the gel (the dye front will make this visible), turn off the power pack. Wearing gloves, gently remove the gel in the mold from the tank, draining off excess running buffer, and transfer to a UV box in an appropriate container for visualization. Change gloves to prevent contamination of surrounding surfaces, door handles etc. with intercalating dye from the gel or running buffer. If DNA fragments are required for downstream applications, the corresponding bands can be carefully excised from the gel with a scalpel blade while placed on a UV light box in a dark room. Ensure you wear a UV face shield and keep skin covered while the light box is on to prevent damage to your skin or eyes by the UV light.
Agarose gels may be visualized on a UV light box in a dark room or using a self-contained light box linked to a camera. Whichever system is utilized, UV light is shone through the gel from below and bands of DNA fluoresce thanks to the intercalating dye bound to them. This may be captured using a camera with a specialized UV filter for your records. Marker ladders come with a guide to indicate the size of each band they include. By comparing this to bands in sample lanes, the sizes of the bands can therefore be determined. The relative amount of DNA between samples may also be compared, as higher DNA concentrations will produce brighter bands. An example is shown in Figure 4.
Figure 4: Agarose gel (2%) analysis of PCR-amplified products from DNA extracted from a bronchoalveolar lavage (BAL) diagnostic specimen of a patient with pulmonary symptoms. Credit: The Centers for Disease Control and Prevention.
There are a number of reasons why the separation of DNA fragments may be desirable, many of which are widely applicable across the life science disciplines. Let’s consider some common purposes.
A form of electrophoresis used for the separation of macromolecules, such as DNA fragments, in an agarose matrix.
A chemical compound that reacts with metal ions to form stable, water-soluble metal complexes.
Agarose gels run under conditions that disrupt the natural structure of DNA, RNA or proteins, causing them to unfold.
Removal of a proton (H+).
A solution of DNA fragments of known sizes that can be used to extrapolate the sizes of fragments in unknown samples.
The separation of biomolecules, such as DNA, RNA or proteins, according to their size and/or charge using electrical current.
A technique that uses electrical current to separate DNA, RNA or proteins based on their physical properties such as size and charge.
Electrophoretic mobility shift assays (EMSA)
Also called gel shift assays, EMSAs are an electrophoresis-based technique used to detect interactions between proteins and nucleic acids.
Equipment used to perform gel electrophoresis that normally consists of a gel tank and power pack with connecting electrodes.
Dyes that bind double stranded DNA, enabling them to be visualized under UV light.
A dye used to prepare DNA ladders and samples for electrophoresis that enables them to be seen with the naked eye and increases their density to prevent dispersion.
A chemical or physical phenomenon that promotes errors in DNA replication.
Agarose gels run under conditions that allow the preservation of the natural structure of biomolecules such as DNA, RNA or proteins.
A technique used to detect specific RNA sequences in a sample that employs electrophoresis for sample separation.
Enzymes that cleave nucleic acids such as DNA or RNA.
A form of electrophoresis used for the separation of macromolecules, such as nucleic acids and proteins, in a polymerized acrylamide matrix.
A process that uses enzymes to cut DNA at specific sites according to the surrounding DNA sequence.
The buffer used to fill the tank in which the gel is immersed and will be run. It helps to maintain stable conditions.
The 3D structure adopted by a polypeptide or polynucleotide resulting from electrostatic attractions between neighboring residues.
A technique used to detect specific DNA sequences in a sample that employs electrophoresis for sample separation.
Proteins involved in the process of converting, or transcribing, DNA into RNA.
1. Rio DC, Ares M, Hannon GJ, Nilsen TW. Nondenaturing agarose gel electrophoresis of RNA. Cold Spring Harb Protoc. 2010;2010(6):pdb.prot5445. doi:10.1101/pdb.prot5445
2. Masek T, Vopalensky V, Suchomelova P, Pospisek M. Denaturing RNA electrophoresis in TAE agarose gels. Anal Biochem. 2005;336(1):46-50. doi:10.1016/j.ab.2004.09.010
3. Krizek DM, Rick ME. Agarose gel electrophoresis of proteins. Curr Protoc Cell Biol. 2002;15(1):6.7.1-6.7.13. doi:10.1002/0471143030.cb0607s15
4. Lee PY, Costumbrado J, Hsu CY, Kim YH. Agarose gel electrophoresis for the separation of DNA fragments. J Vis Exp. 2012;(62):3923. doi:10.3791/3923
5. Sanderson BA, Araki N, Lilley JL, Guerrero G, Lewis LK. Modification of gel architecture and TBE/TAE buffer composition to minimize heating during agarose gel electrophoresis. Anal Biochem. 2014;454:44-52. doi:10.1016/j.ab.2014.03.003
6. Hall AC. A comparison of DNA stains and staining methods for agarose gel electrophoresis. bioRxiv. 2019. doi:10.1101/568253
7. DNA gel-loading dye (10X). Cold Spring Harb Protoc. 2008;2008(8):pdb.rec11373. doi:10.1101/pdb.rec11373
8. Schwarz MJ. DNA diagnosis of cystic fibrosis. Ann Clin Biochem. 1998;35(5):584-610. doi:10.1177/000456329803500502
9. Marwal A, Sahu AK, Gaur RK. Chapter 16 - Molecular Markers: Tool for Genetic Analysis. In: Verma AS, Singh A, eds. Animal Biotechnology. Academic Press; 2014:289-305. doi:10.1016/B978-0-12-416002-6.00016-X
10. Tweedie JW, Stowell KM. Quantification of DNA by agarose gel electrophoresis and analysis of the topoisomers of plasmid and M13 DNA following treatment with a restriction endonuclease or DNA topoisomerase I. Biochem Mol Biol Educ. 2005;33(1):28-33. doi:10.1002/bmb.2005.494033010410
11. Molnar C, Gair J. Chapter 10.1 Cloning and Genetic Engineering. In: Concepts of Biology. Published online May 14, 2015. Accessed February 2, 2022. https://opentextbc.ca/biology/chapter/10-1-cloning-and-genetic-engineering/
12. Balletbó A. DNA purification from an agarose gel (protocol for NucleoSpin® pCR clean-up gel extraction kit). protocols.io. Published September 22, 2019. Accessed February 2, 2022. doi:10.17504/protocols.io.7hrhj56
13. Downey N. Extraction of DNA from Agarose Gels. In: Casali N, Preston A, eds. E. coli Plasmid Vectors: Methods and Applications. Methods in Molecular BiologyTM. Humana Press; 2003:137-139. doi:10.1385/1-59259-409-3:137
14. Hellman LM, Fried MG. Electrophoretic mobility shift assay (EMSA) for detecting protein–nucleic acid interactions. Nat Protoc. 2007;2(8):1849-1861. doi:10.1038/nprot.2007.249
15. Yousaf N, Gould D. Demonstrating Interactions of Transcription Factors with DNA by Electrophoretic Mobility Shift Assay. In: Gould D, ed. Mammalian Synthetic Promoters. Methods in Molecular Biology. Springer; 2017:11-21. doi:10.1007/978-1-4939-7223-4_2
Correction The article erroneously stated that the positive electrode was the cathode, this was updated on February 13, 2023, to correctly identify the anode as the positive electrode.
What is electrophoresis? Electrophoresis is a technique that uses electrical current to separate DNA, RNA or proteins based on their physical properties such as size and charge.
What is agarose gel electrophoresis? Agarose gel electrophoresis is a form of electrophoresis used for the separation of nucleic acid (DNA or RNA) fragments based on their size. Negatively charged DNA/RNA migrates through the pores of an agarose gel towards the positively charged end of the gel when an electrical current is applied, with smaller fragments migrating faster. The resulting bands can then be visualized using ultraviolet (UV) light.
Sds Page Electrophoresis What is gel electrophoresis used for? Gel electrophoresis is used to separate mixtures of biomacromolecules, such as DNA, RNA and proteins. This technique separates by molecular size and/or charge. This is achieved by drawing molecules through a gel containing tiny pores using an electrical field.